Everyone has their own favorite IDE for their preferred programming language. I’ve seen many people using visually appealing IDEs for a variety of reasons. As a seasoned programmer I started programming on Eclipse and for many years now I still prefer to use it. The most important reason being how it allows you to work on multiple technologies and languages on the same IDE. If you have never used it, I suggest you check their products from here. Many younger colleagues of mine consider Eclipse ugly compared to its rivals and for good reasons. I on the other hand consider stability and functionality more important than graphics and display.
In this article I would like to show you how to start using Eclipse for Python development and connect it to your Conda environment for better practices.
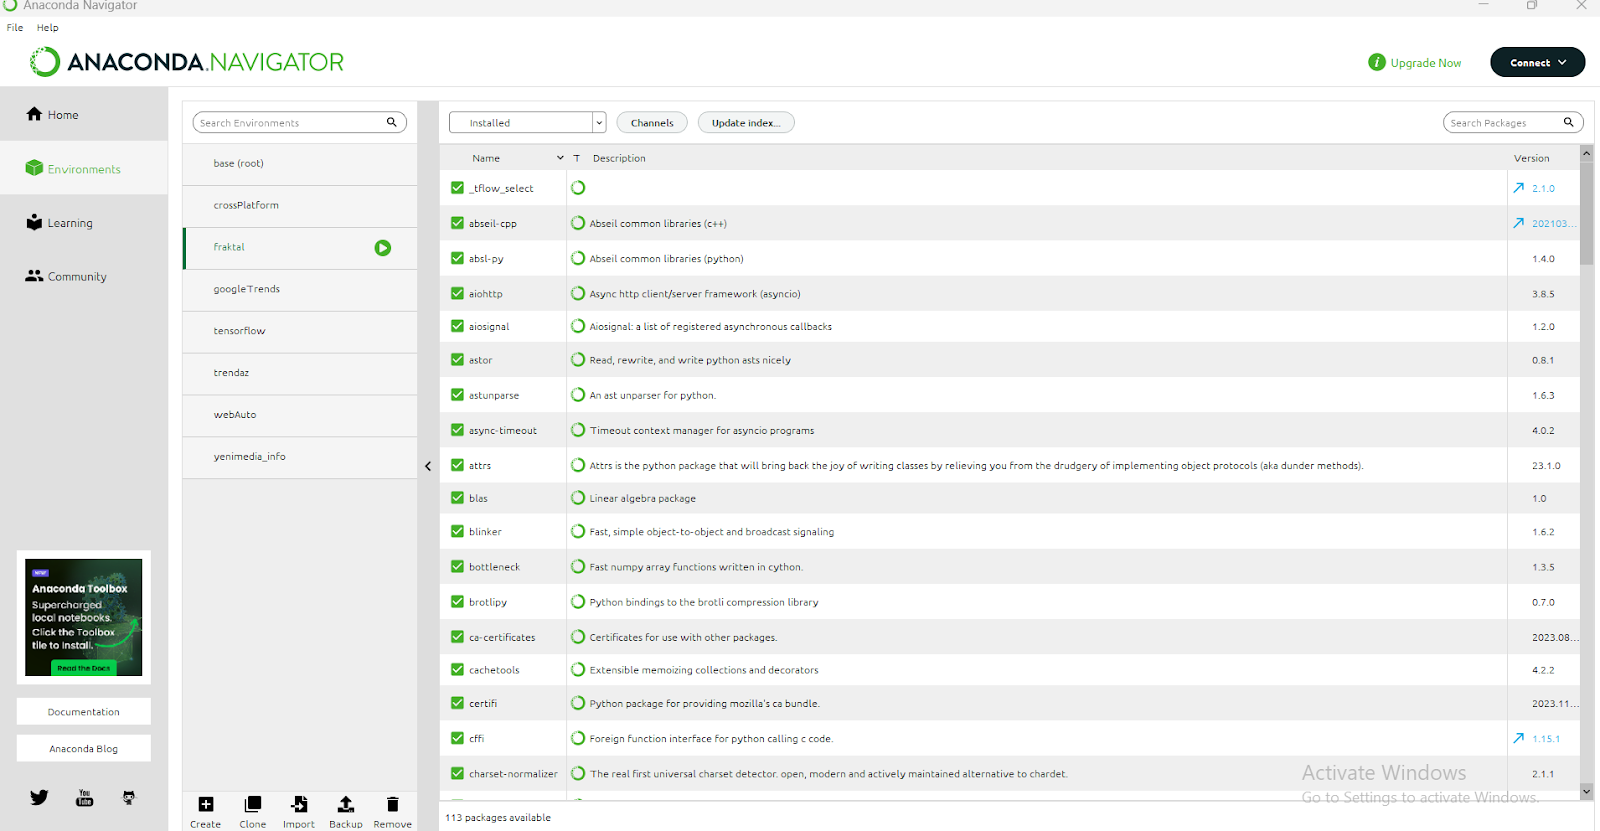
First of all, If you want to explore AI programming with Python and if you are not familiar with Anaconda, I strongly suggest you check their website. It’s an incredible tool which will speed up your process and help you organize your work.
In Anaconda Navigator you can organize and manage your environments for different projects which later you can link and start using very easily. In this example we will do a test run for Tensorflow so before leaving Anaconda Navigator I would suggest you to install Tensorflow and Keras for your environment.
After setting up your Conda environments and installing required libraries and modules for your project we will start Eclipse IDE. In Eclipse you should go to Eclipse Marketplace and download PyDev. You can find Eclipse Marketplace under the Help tab.
So far so good.
Next step should be configuring your Eclipse so it can work with your Conda environment. You should navigate to Windows -> Preferences -> PyDev -> Python Interpreter. In here you should Click New and select Browse for python/pypy exe. This will lead to windows where you should type a name for your interpreter and choose an executable for it. Your executable should be in your Anaconda directory where you can find your environments. In envs/ folder you can go into your preferred environment folder for your project and select python.exe in there.
We are ready to go.
After this you should create a Project in eclipse File->New->PyDev project. Just give your project a name and pick the environment you previously set from the Interpreter option.
After finishing this step your project is ready. Let’s test it with a simple print first. Create a folder under your project by right clicking the project name and selecting New->Folder. In it you can create your first Python module and start coding.
Works like a charm. Let’s try adding sample codes from the Tensorflow website to see if your Tensorflow setting works. You can check this link for more detailed instructions for Tensorflow.
Here is the sample code from Tensorflow website
import tensorflow as tf
mnist = tf.keras.datasets.mnist
(x_train, y_train),(x_test, y_test) = mnist.load_data()
x_train, x_test = x_train / 255.0, x_test / 255.0
model = tf.keras.models.Sequential([
tf.keras.layers.Flatten(input_shape=(28, 28)),
tf.keras.layers.Dense(128, activation='relu'),
tf.keras.layers.Dropout(0.2),
tf.keras.layers.Dense(10, activation='softmax')
])
model.compile(optimizer='adam',
loss='sparse_categorical_crossentropy',
metrics=['accuracy'])
model.fit(x_train, y_train, epochs=5)
model.evaluate(x_test, y_test)
After running this code you should see it working.
If you realize in your console output there are some red lines about missing dlls, specifically starting with cu, this means your machine lacks the requires CUDA libraries for cuda enable GPUs. If you don’t have such GPU no need to worry, but if you do have I strongly recommend installing and using it. CUDA is a very effective parallel computing platform developed by NVIDIA especially important for machine learning jobs.
To install CUDA on your PC first you should check your Tensorflow version and find out the compatible CUDA version. For this you can check this url. After determining your required CUDA version go here and install the CUDA to your computer.
To learn your Tensorflow version you can add these lines to your Python code and run it.
import tensorflow as tf
print(tf.__version__)
After you start installation process you may come up with the error
NVIDIA Installer cannot continue
You already have a newer version of the NVIDIA Frameview SDK installed
To resolve this you should go to the Control Center and remove NVIDIA Frameview SDK and NVIDIA PhysX. After that you can continue installation.
After completing CUDA installation you should also download CUDNN libraries. According to your CUDA and Tensorflow version you should download the required version of CUDNN to your computer. To check the correct version check this matrix.
Another problem you may encounter can be the following error:
Could not load dynamic library 'cudnn64_8.dll'; dlerror
To resolve this error you should copy cudnn64_8.dll file from your CUDNN library and add it to your CUDA installation folder. Specifically under bin directory.
After that you can test your Tensorflow installation and start working on it.


 24.11.2023
0
24.11.2023
0